By Adrian Toon, director of a2n.
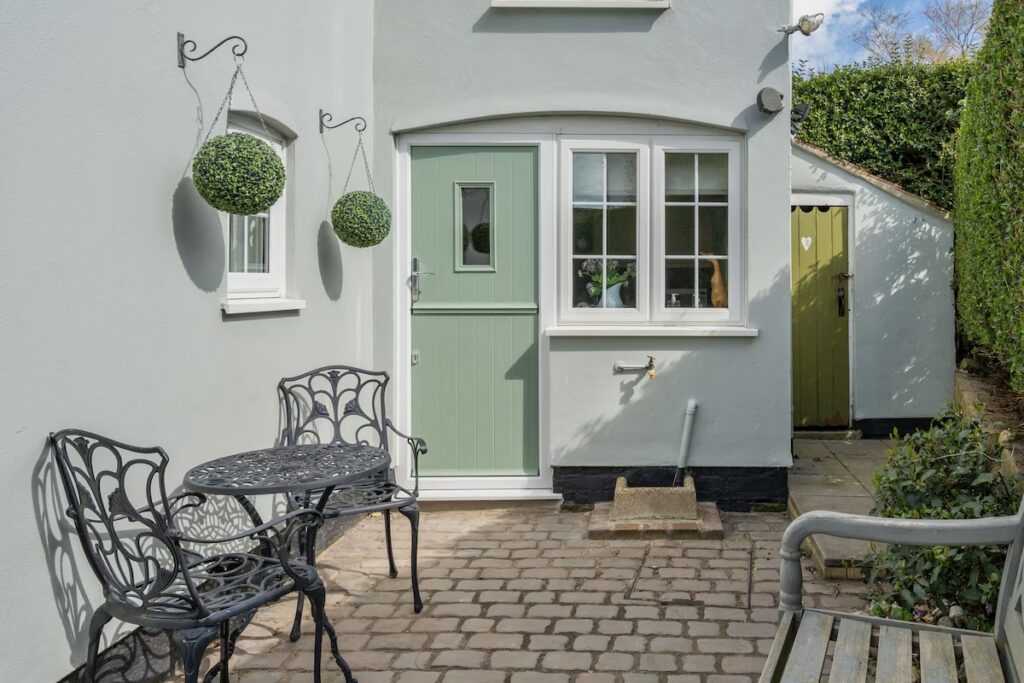
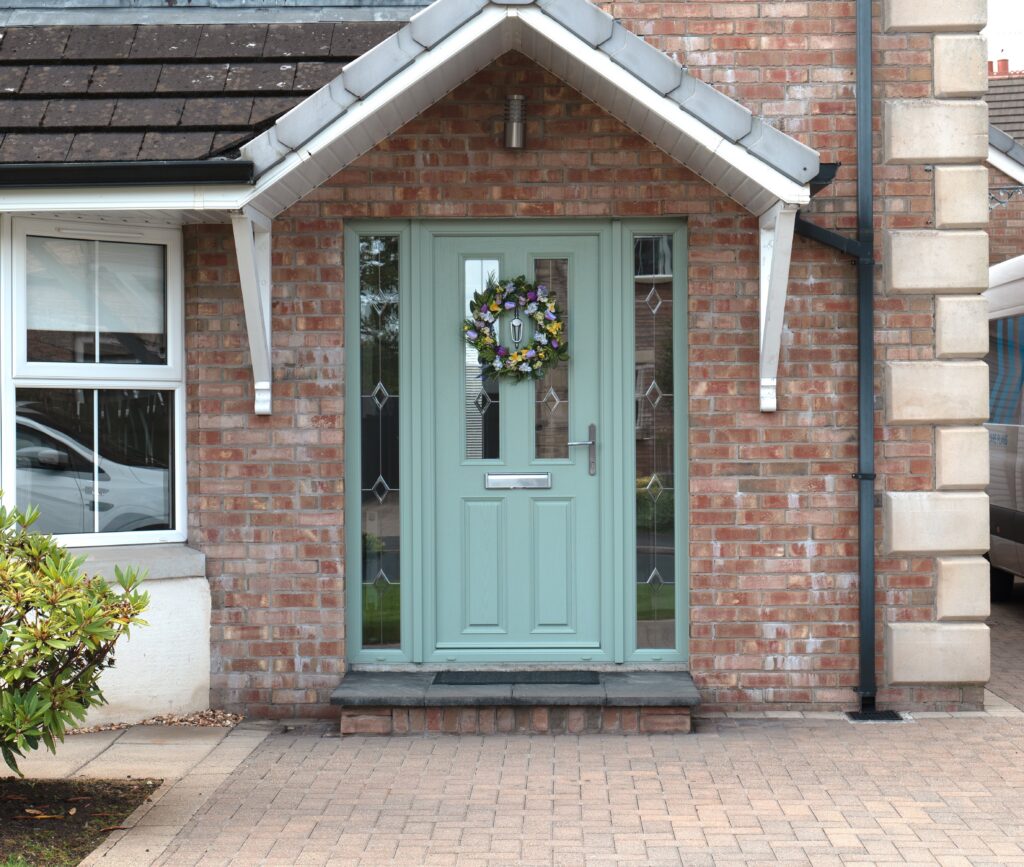
Dark grey window frames pose particular problems in photography as they can ‘disappear’ in an image.
Frames are often located in a reveal, so they are often in shadow. Light is usually much brighter outside than inside, so glazed areas are often dark and glass can often appear mostly grey or black.
With our eyes we have the ability to easily identify the frames in most light, but a camera is less able to do this as a camera’s dynamic range is poorer than what we are able to see.
The issue is exaggerated further when printing a digital photograph, particularly in the press, as the printing process can significantly darken the image even further.
But it’s not all doom and gloom as a little pre-print adjustment makes all the difference. On your phone (or whichever software you are using) go to the ‘highlight and shadow’ setting, and on ‘shadow’ increase the level, lightening the image. This has the effect of putting more light into the shadow areas so that the detail is pulled out.
Grey frames in particular become much more visible. Don’t overdo it so the image looks a little odd; adjust enough to show detail, and then go to ‘exposure’ and brighten up a little so that all the detail can clearly be seen. In print, the image will become a little more saturated in the process and will drop back to show a balanced image.
A little bit of adjustment can go a long way, and remember if your image stands out it is more likely an editor will choose to feature it,